
Bringing the Project Up to Date
My original plan was to document this project in small increments, starting from the day I brought the car home. Unfortunately, I haven’t been able to locate many of the early photos. Because of that, this post will focus on bringing everything up to where the car sits today.
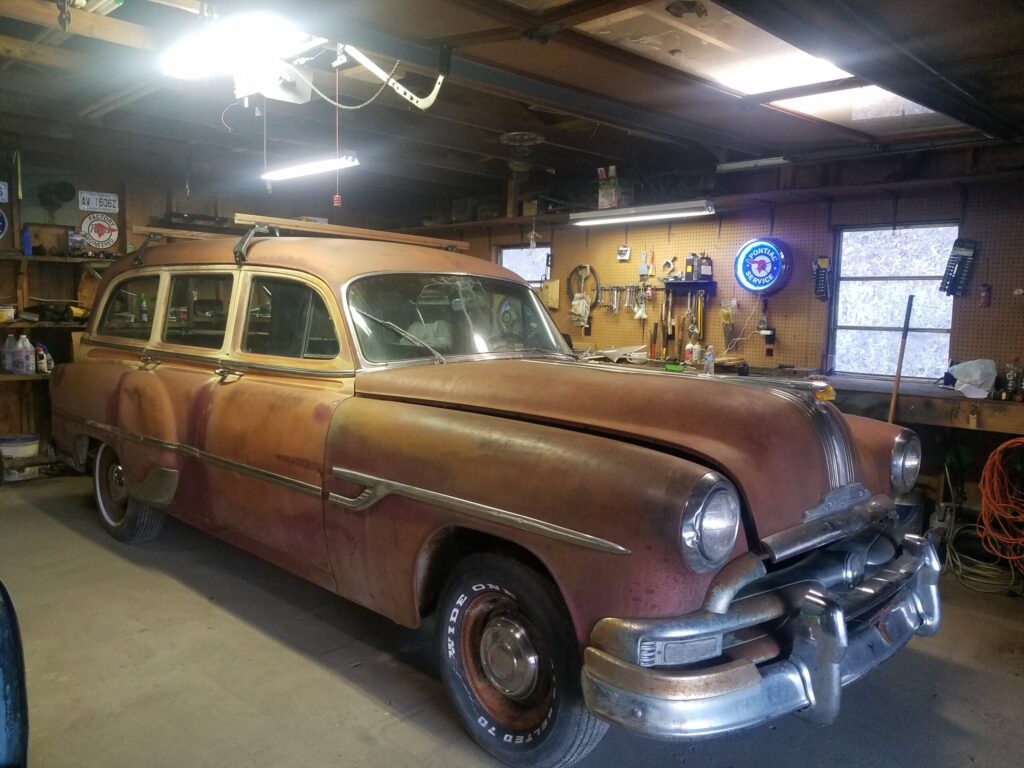
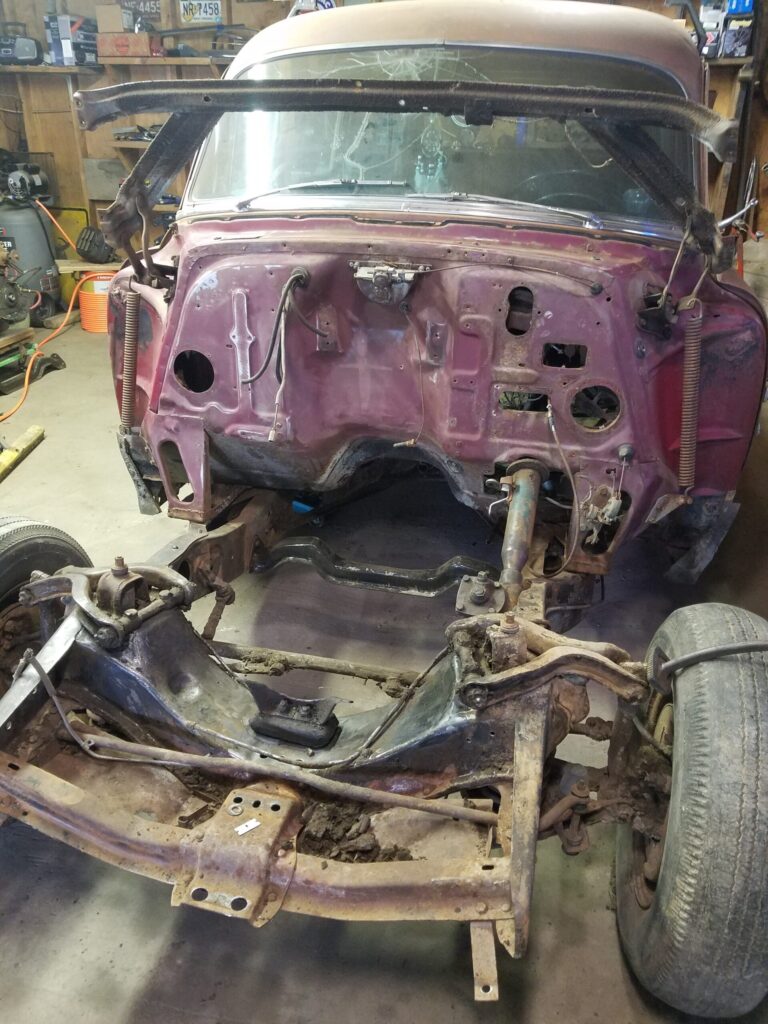
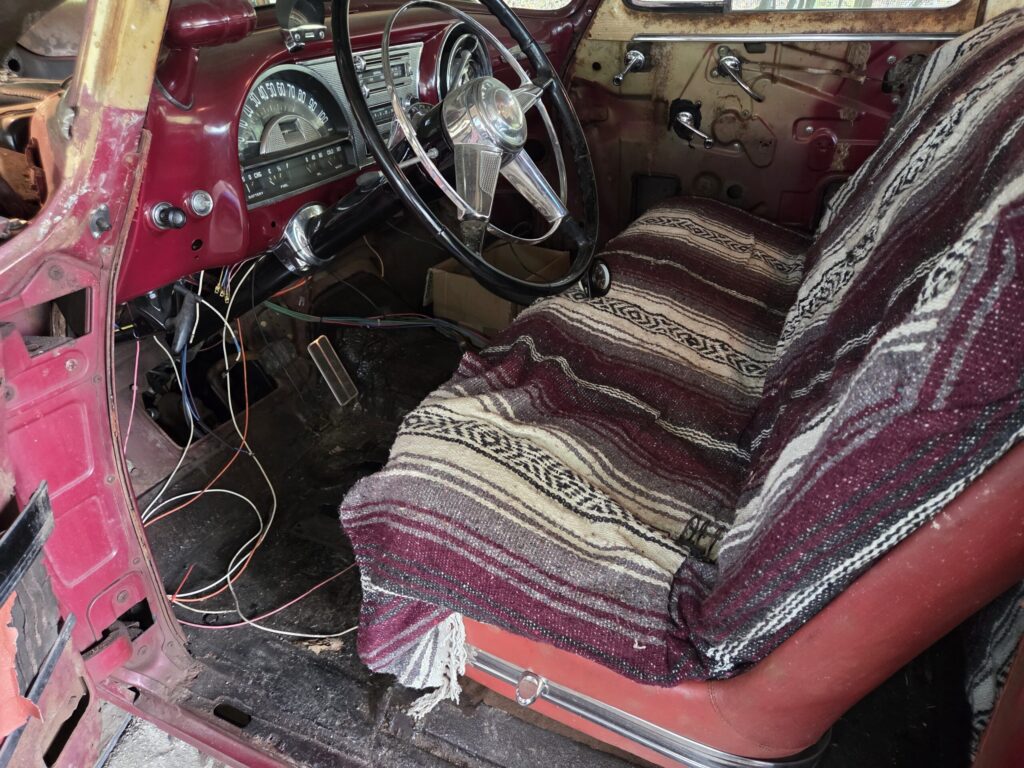
As It Sat — Day One
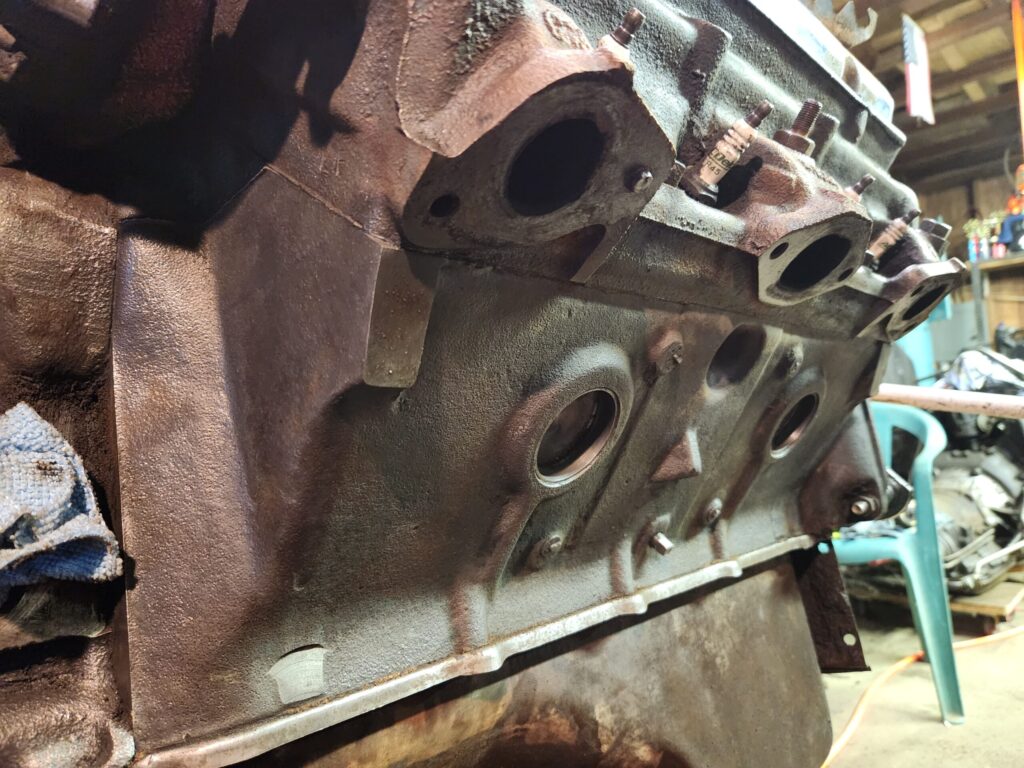
Before turning a single wrench, I snapped a few photos of the car sitting in my garage. The original engine wasn’t locked up, so I made an attempt to get it running—but no luck. A compression test and further inspection confirmed it would require a full rebuild. Since I never really planned on keeping the original drivetrain, that made the decision easier.
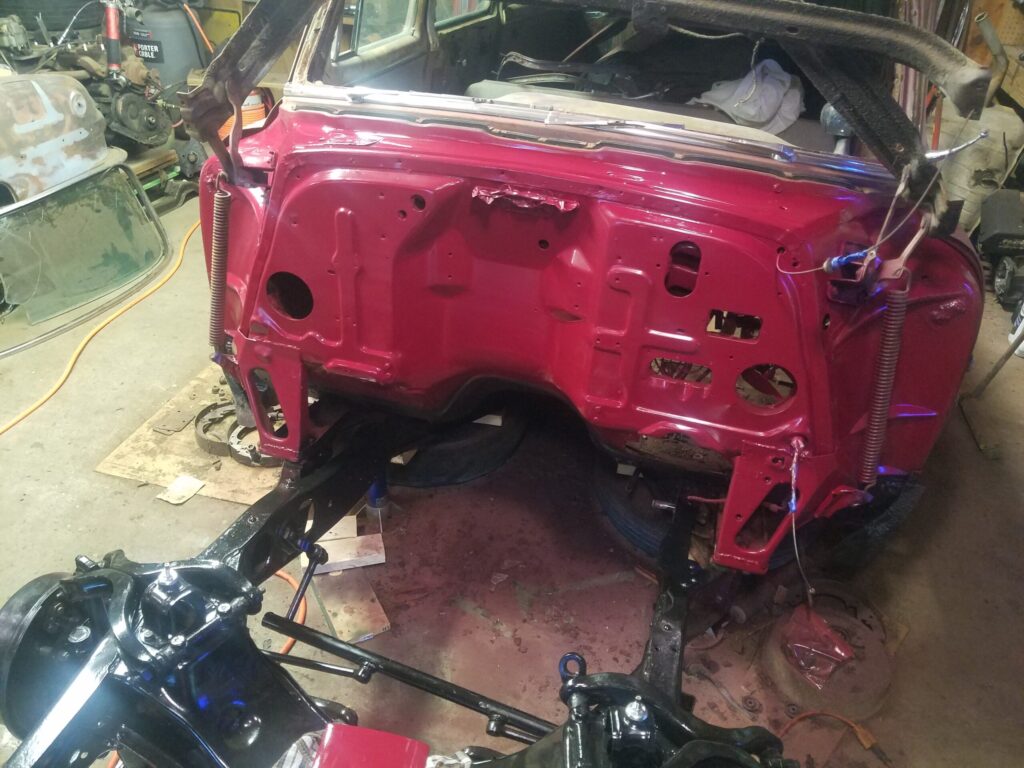
Drivetrain Removal & Chassis Work
The next stage involved removing the factory drivetrain. With everything apart, I cleaned and painted the frame and took the opportunity to completely rebuild the brake system. It made sense to handle it all while access was easy.
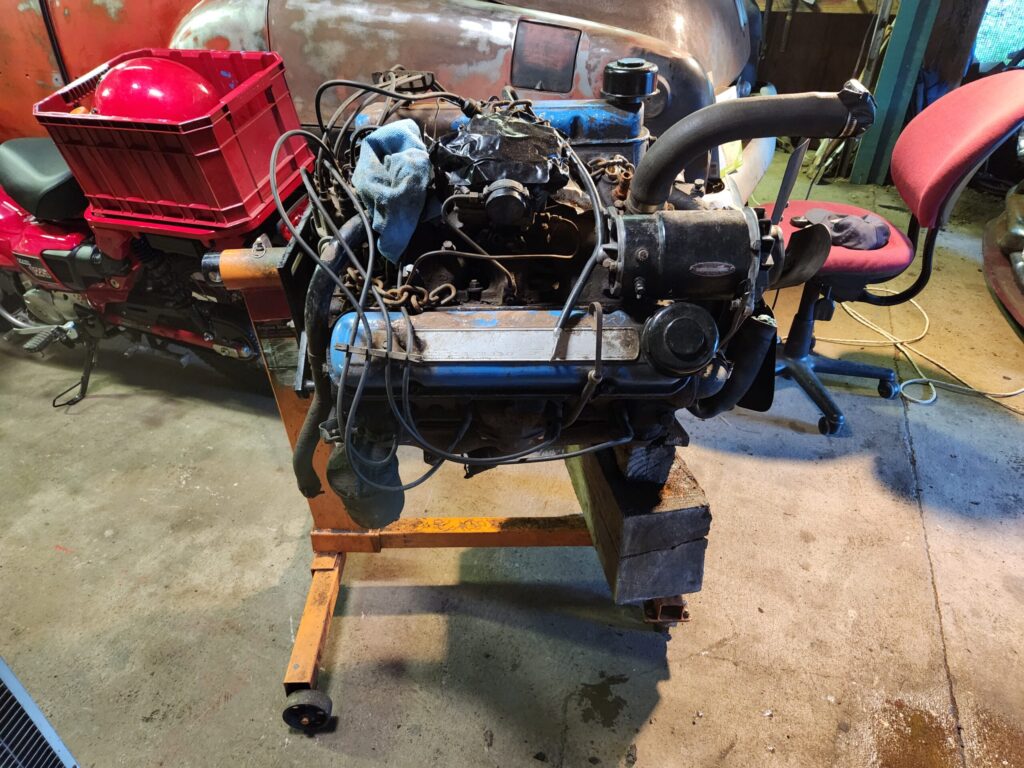
The New Drivetrain
The engine I’m using now is a 1955 Pontiac 287 pulled from a ’55 Star Chief. It was a good-running engine when removed from a car that had been parked since the early 1980s. I tore it down and freshened it up with new seals and gaskets throughout.
For the transmission, I’m running a 1956 Pontiac “Strato-Flight” Hydra-Matic—the first year Pontiac offered a true “Park” position. The driveshaft is also from the ’55 Star Chief and happened to be the correct length. However, because of the swap to the Strato-Flight transmission, I’ll need to replace the yoke with the correct 1956–57 style.
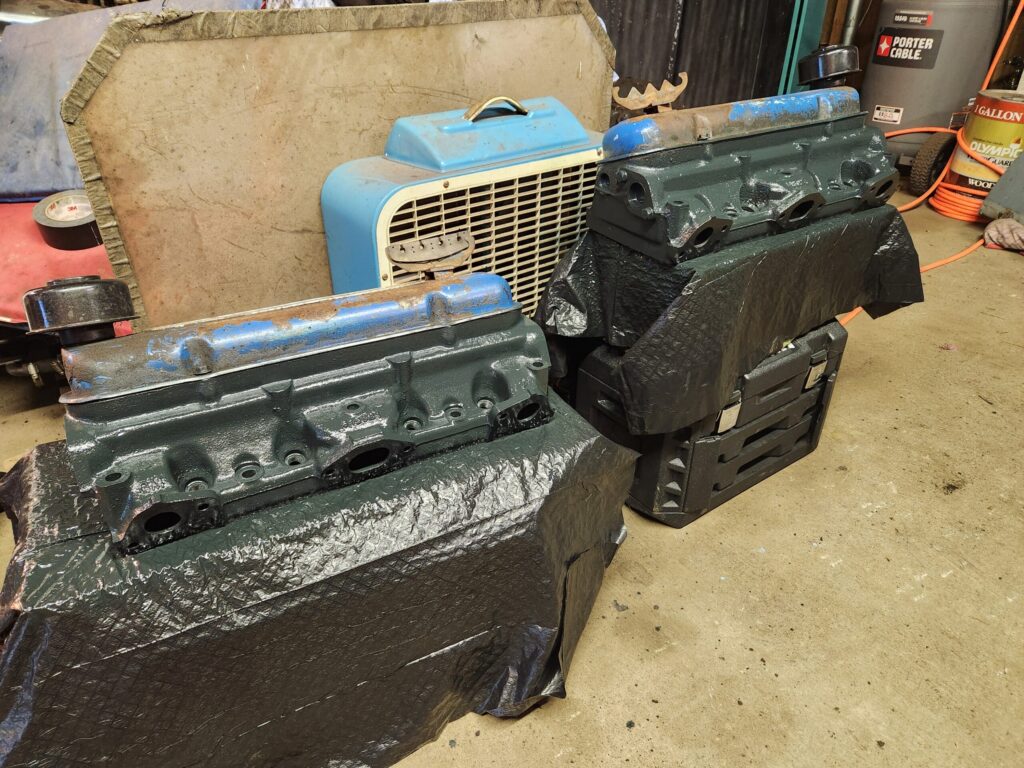
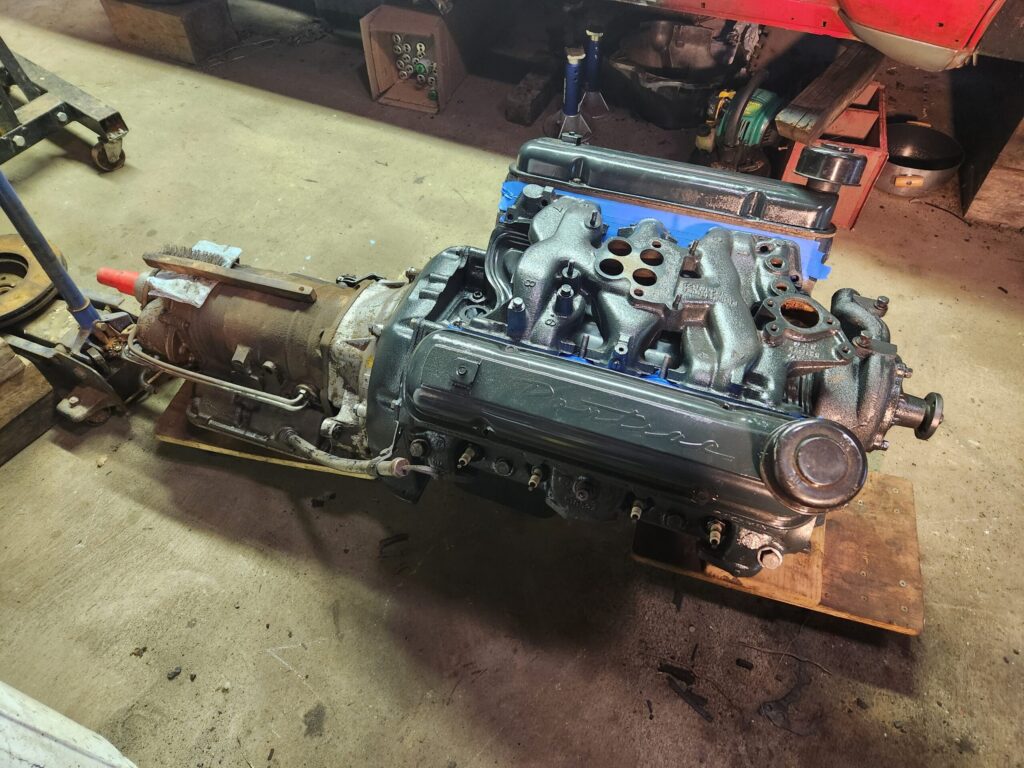
The engine is painted in the correct original color, sourced from Bill Hirsch Automotive.
The valve covers are 1957 Pontiac — one-year-only scripted covers.
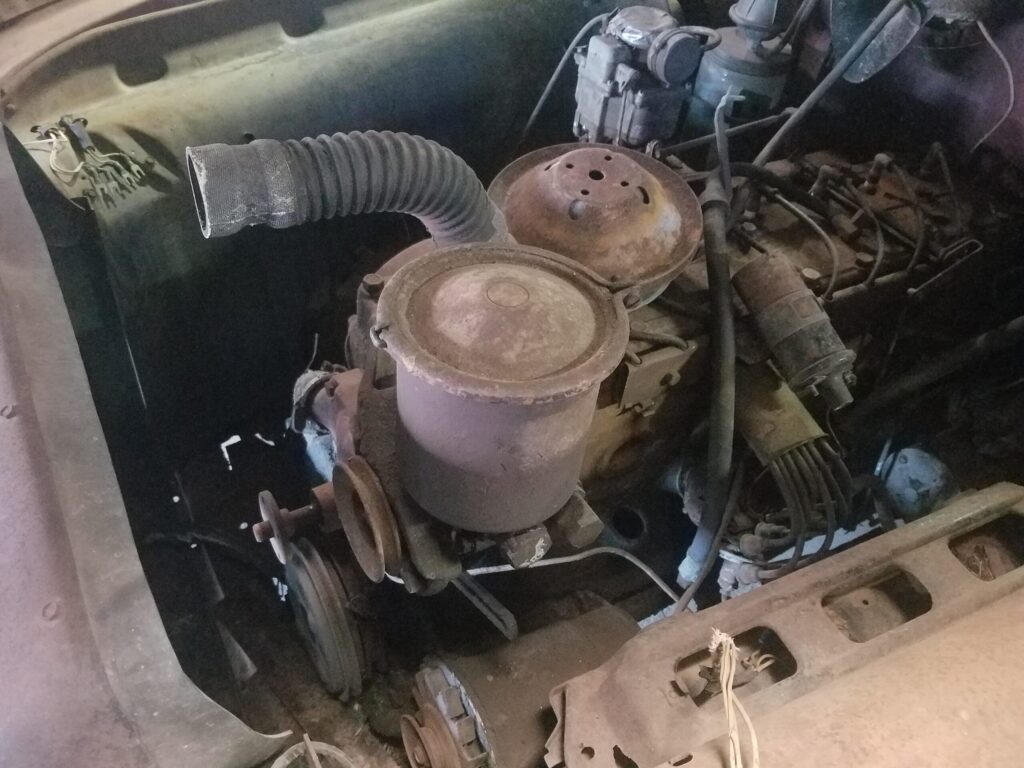
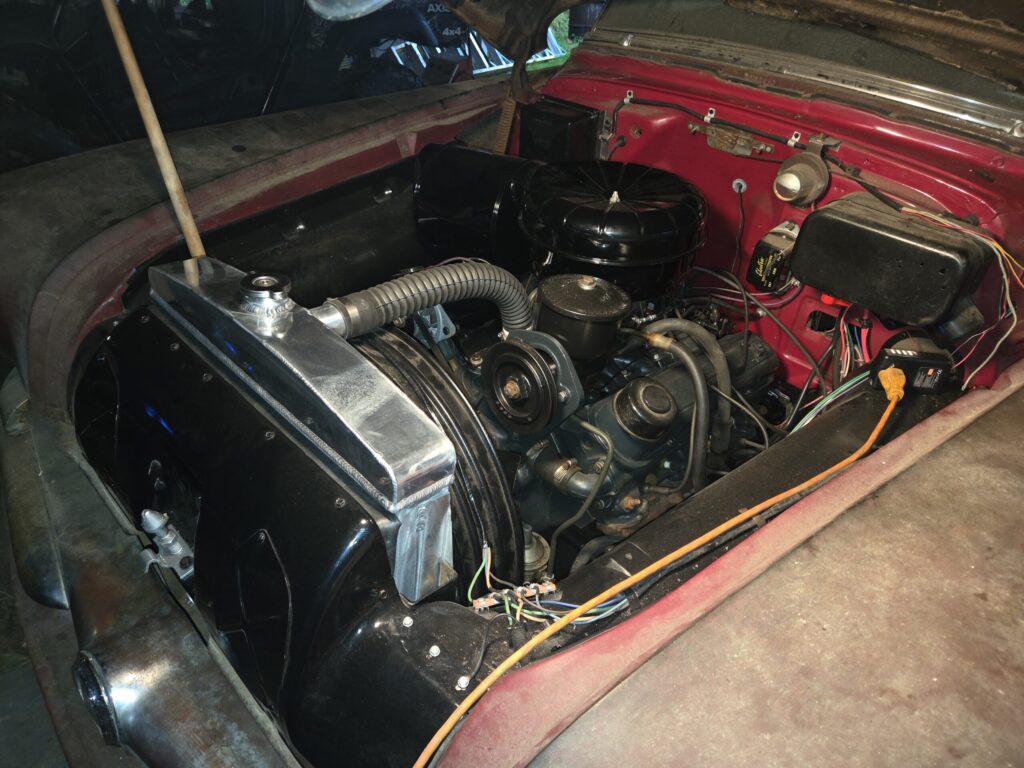
Current Engine Bay
This is the most recent engine bay photo I have. The air cleaner is on the wrong side in this shot — I took the photo before adjusting the power steering hoses so it could be installed correctly.
Electrical System
I completely rewired the car using a Rebel 12-volt wiring harness. I’ve installed these harnesses on several other cars and have always had great results. In fact, I already have another one set aside for my 1952 Pontiac when I get back to that project.
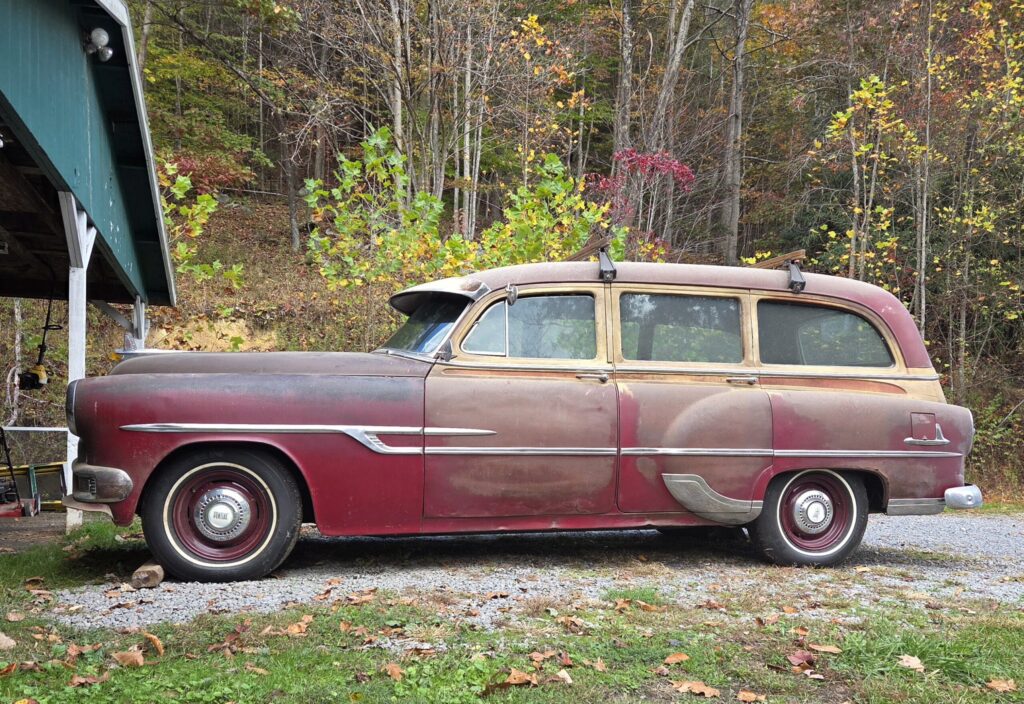
How It Sits Today
Here’s how the car sits currently. It’s pretty clear—from the first garage photos to now—that a lot of additional work happened in between. Unfortunately, without photos, those stages are difficult to show in detail.
From this point forward, I’ll continue posting updates as progress continues.
If you notice anything in the photos that I didn’t mention and have questions about, feel free to leave a comment below.
Comments